Bootstrap Header Usage
Overview
As in set files the header is just one of the very most significant parts of the website pages we receive and create to use every day. It securely maintains the absolute most crucial related information about the identity of the organization as well as individual behind the webpage in itself and the importance of the whole website-- its own navigation building which in turn along with the Bootstrap Header Class itself should be thought and crafted in such approach that a visitor in a hurry or not actually knowing which way to go to simply just take a quick look at plus identify the wanted information. This is the ideal case-- in the real life obtaining as close as possible to this look and behavior additionally proceeds given that we almost each and every moment have some project specified limitations to think about. On top of that not like the written paperworks in the world of web we should always bear in mind the diversity of attainable devices on which our webpages could actually get exposed-- we should really confirm their responsive attitude or in other words-- ensure that they will present top at any screen size possible.
So let us take a look and see precisely how a navbar gets created in Bootstrap 4. ( check this out)
The way to use the Bootstrap Header Form:
First of all in order to produce a web page header or since it gets regarded in the framework-- a navbar-- we need to wrap the whole thing inside a
<nav>.navbar.navbar-toggleable- ~ screen size ~.bg-*.navbar-light.navbar-lightWithin this parent component we should start off by inserting a button component which will be used to show the collapsed material on a smaller display dimensions-- to execute that make a
<button>.navbar-toggler.navbar-toggler-left.navbar-toggler-righttype = " button "data-toggle ="collapse"data-target = " ~ the collapse element ID ~What is truly bright new for current alpha 6 release of the Bootstrap 4 framework is that inside the
.navbar-togler<span>.navbar-toggler-icon<a>.navbar-brand<div class="img"><img></div>Now-- the necessary part-- creating the collapsible container for the fundamental web site navigation-- to accomplish it make an element by using the
.collapse.navbar-collapseid =" ~ same as navbar toggler data-target ~ ".collapse<ul>.navbar-nav<ul><li>.nav-item<a>.nav-link.nav-item.nav-link.nav-item.dropdown<li>.dropdown-toggle.nav-link.nav-item<div>.dropdown-menu.dropdown-itemFor example of menu headers
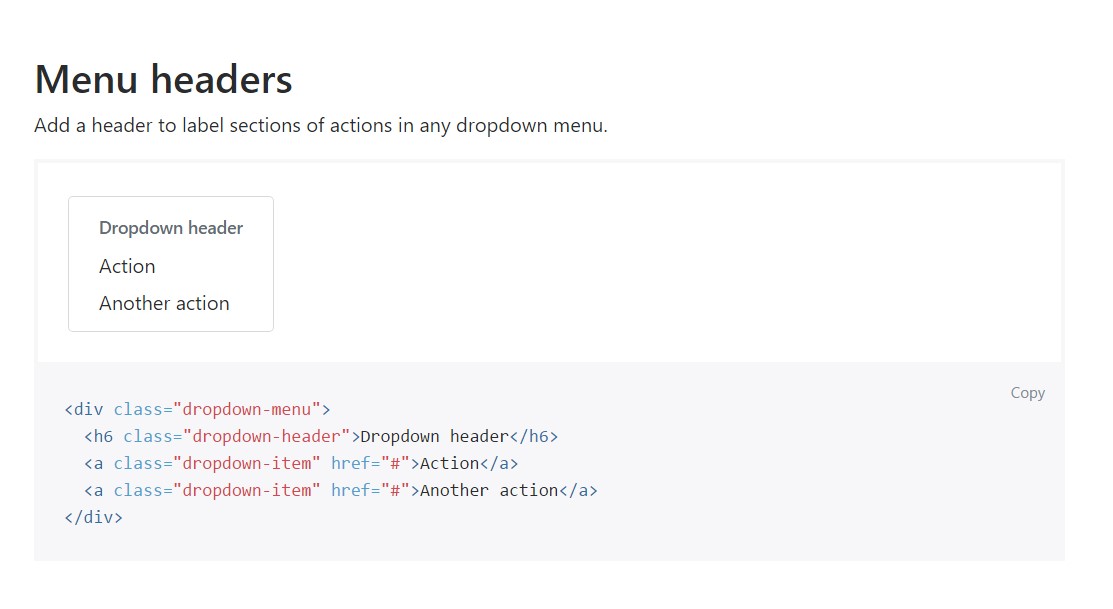
Bring in a header to label segments of actions in any dropdown menu.
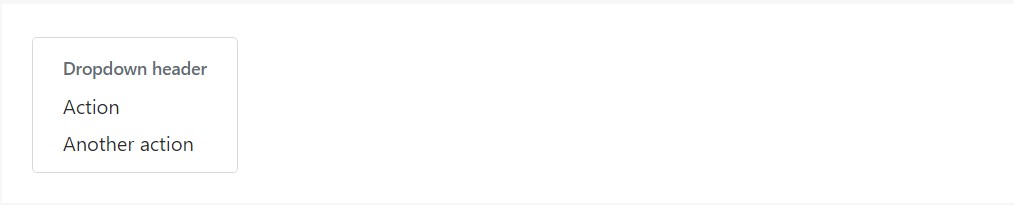
<div class="dropdown-menu">
  <h6 class="dropdown-header">Dropdown header</h6>
  <a class="dropdown-item" href="#">Action</a>
  <a class="dropdown-item" href="#">Another action</a>
</div>
Other capabilities
Another fresh item for this edition is the option to put in an inline forms in your
.navbar.form-inline<span>.navbar-textFinal thoughts
The moment it goes to the header parts in the current Bootstrap 4 version this is being simply cared for with the integrated in Collapse plugin and a number of navigation specific information classes-- several of them produced specifically for maintaining your label's uniqueness and others-- to earn confident the actual page navigational structure will reveal best collapsing in a mobile phone style menu when a indicated viewport size is reached.
Examine a few youtube video information regarding Bootstrap Header
Linked topics:
Bootstrap Header: formal information
Bootstrap Header short training
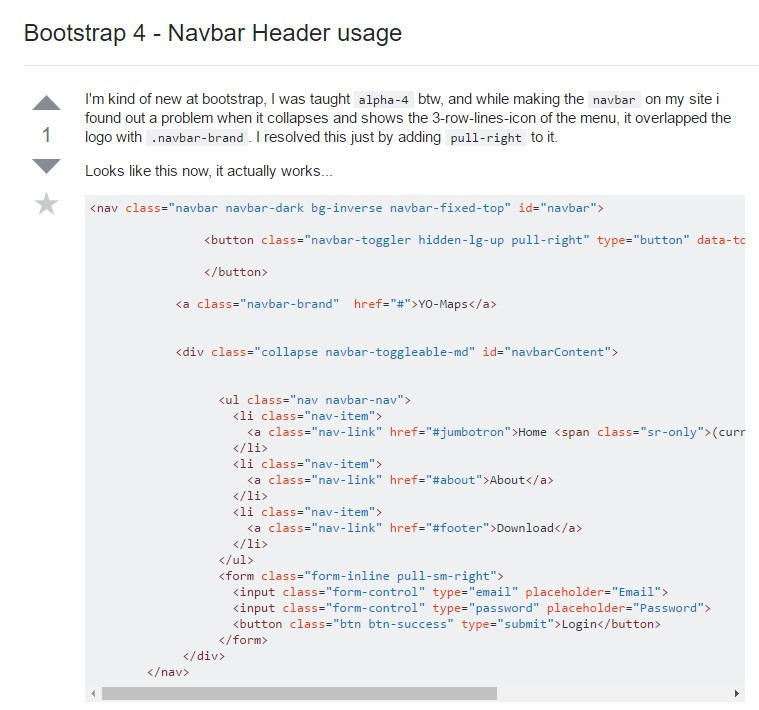
Bootstrap 4 - Navbar Header application